If I was to drown in a vat (or hogshead) of beer that I'd prefer it to be Lambic (or Gueuze). For my palate, Lambic's complex combination of funk and tart is heaven in a glass, and I can imagine no better style-driven drinking session than one exploring these beers. They can be a bit pricey, but it is a special treat to sit down with a few friends and drink around a few bottles.
Despite my affection for the style, I have never brewed one before. These beers require not only prowess in the brewhouse (as I will detail shortly), but also patience after brewday. There is no hard-and-fast rule regarding how long you should allow Lambic to sit in secondary (most brewers would say at least a year), but I had previously shunned tying up one of my vessels for such a long time. With a recent purchase of more kegs, I decided the timing was right to try my hand at brewing a Lambic.
I've been fortunate over the last few years to have tried a variety of Cantillion and Drie Fontenen Gueuze, and know I prefer those that are aggressively sour and Funky (yes, with a capital "F"). Since I was putting in the investment of at least a year, I wanted to take the time to emulate those beers as much as I could. Awhile back, the (awesome) Funk Factory blog published Cantillion's "turbid mash" procedure scaled down to a homebrew system.
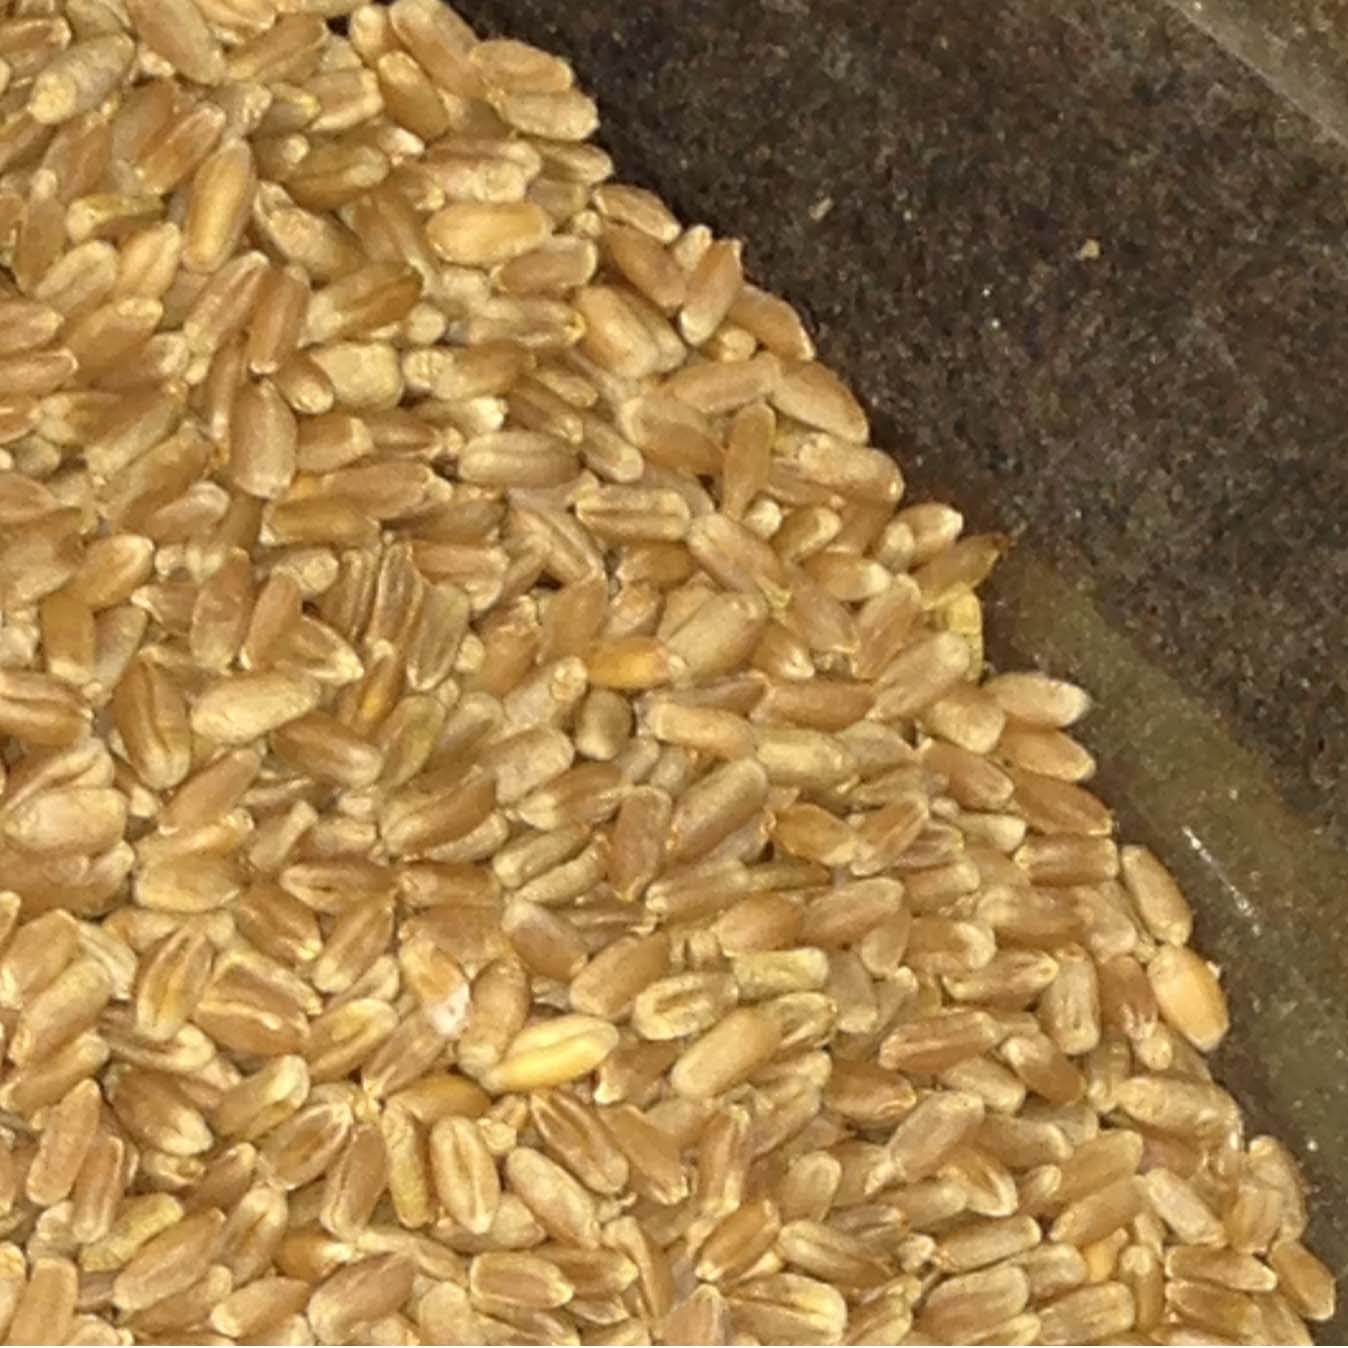 |
| Unmilled, unmalted red wheat berries. |
 | |||
| Unmalted red wheat, milled three times. |
Because Lambics are traditionally made using unmalted wheat, they require a protein rest (at ~120º) to convert the larger proteins and starches (where wheat locks energy prior to germination) into digestible bits for the yeast and bugs. This said, you also want to preserve some of the starches for the slow-moving Brettanomyces yeast and Pediococcus to work on as the beer ages. Turbid mashing involves removing a portion of the mash liquor and heating it to a high temperature, denaturing any enzymes that would, in a traditional mash, work on the starches and converting them into yeast-accessible sugars. This turbid portion locks up some nutrients in the starches that Brett and Pedio have to work hard to get after; all that hard work creates the wonderful sour and funky flavors that I dig in Lambics. Here are each of the steps in the turbid mash with a little more detail (I do have a beersmith mash profile if anyone is interested -- comment below):
1. Add 1 qt. 136ºF water to grain to rest at 113º F for 20 mins. I did this in a bucket (as suggested on the Mad Fermentationist Blog) as it was easier than working with the thick mash in my mash tun. (I also filled the space below my false-bottom in my MT with 136º water.)
2. Transfer grain from bucket to MT. Add 4 qts. boiling water to MT rest at 136º F for 5 mins.
 | |
| Because of the low water-to-grain ratio of this first mash, it maintained temp no problem. |
 |
| Apparently its called a turbid mash for a reason... |
3. After temp has stabilized, remove 1 qt. mash liquid to separate pot. Heat and maintain this "turbid portion" at 176º F (to stop enzymatic processes) until mashout (see step 6-7).
 |
| I used my heated stirplate to maintain my turbid temp. |
4. Add 6 qts. of boiling water to the MLT to bring mash to 149º F. Stir to normalize temp.
5. Remove 4 more qts. of the mash liquid to your turbid pot. reheat to 176º. Rest both mash and turbid portion for 30 minutes.
6. Add 5 qts. boiling water to MLT to bring main mash up to 162º F. Rest for 20 minutes. Slowly raise turbid portion to 186º.
7. Add turbid portion back into mash, to rest at 167º F for 20 minutes.
 |
| The almighty VORLAUF! |
8. Vorlauf and run off.
9. Fly sparge with 6.4 gallons of 185º F water, until 9 gallons in BK.
**Note: The volumes above were approximate -- while I did measure at times I needed to add more water to the MT to keep the mash-bed floating. I also found the direct-fired MT to be helpful in regulating temps. This will vary from system-to-system.
Although I did not have any dregs from Cantillion or Drie Fontenen on hand, I did find a bottle of Oude Gueuze Boon at a local bottle shop. I gladly decanted and drank that sucker, being careful not to disturb the sediment in the bottom. I added some sterile 1.020ish wort to the bottle, to hopefully jumpstart the dregs. In about 2 weeks I noticed a pellicle forming in the corked bottle. It smelled tart and funky, so it was viable. I was able to source some Bugfarm IV from my buddy Haskell (used in his Flanders Red), so I decided to pitch that as well. Finally, I had some second-generation Belle Saison yeast that I decided to pitch as the sacchromyces strain. I pitched these all together the day after I brewed. I'm letting this sit at ambient temps in my basement, which is between 55-62 this time of year.
Here's a bit more detail on my the recipe and process, culled from the Beersmith report:
--------------------------
Boil Size: 9.70 gal
Post Boil Volume: 6.50 gal
Batch Size (fermenter): 5.50 gal
Bottling Volume: 5.00 gal
Estimated OG: 1.046 SG
Estimated Color: 3.3 SRM
Estimated IBU: 2.2 IBUs
Brewhouse Efficiency: 70.00 %
Est Mash Efficiency: 79.5 %
Boil Time: 240 Minutes
Ingredients:
------------
Amt Name
6 lbs Pilsner (Best Malz) (2.0 SRM)
4 lbs Raw wheat - Unmalted Wheat (2.0 SRM)
3.00 oz Lambic Aged Hops [0.20 %] - Boil 220.0 m
1 qt. slurry Belle Saison (Lallemand #Belle Saison)
1 cup slurry Bugfarm IV (Haskell)
Restarted dregs from bottle of Oude Gueze Boon
Total mash water: 5 gallons. Total sparge water: ~6.4 gallons (to ~9 gallons).
R.O. water with
***Keep HLT at ~185º until mashout.***
Resources:
Mad Fermentationist: http://www.themadfermentationist.com/2009/08/lambic-3-turbid-mash.html
Funk Factory: http://www.funkfactorygeuzeria.com/2011/12/cantillon-turbid-mash.html
_________
Brew Day notes:
10:00 AM - Transferred ALL water (RO) to HLT. Added all salts (calculated via Bru'n Water "yellow malty") to HLT. Began heating.
Calculated water:
Ca 42.9
Mg 5.2
Na 8.0
SO4 36.3
Cl 48.6
BiCarbonate 48.2
10:30 - Milled grain. Ran the wheat berries through the mill 3 times. Added rice hulls (1 handful)
11:00 - still waiting for water to hit ~135-7º to mix with grain. (At 121º)
11:15 - added 4 qts water to MT (up to false bottom). Turned on burner to bring water to 136ºF
11:17 - added 3 qts 138º water (should've been 136ºF, or even lower) to grain in bucket to settle at somewhere between 110º and 118ºF (113ºF). Cranked HLT to heat water to 186º for next infusion. (Next time -- heat extra 3 qts. in MT to free up HLT for heating.)
11:40 - MT water at 152; HLT at 175 -- added grain and transferred 4 qts. H20 to MT. Really thick. Nailed temperature at 136ºF
12:00 - Added 6 qts. water. Stabilized mash at 145º. turned on MT burner. Removed 4 qts to side burner. Added ~2.5 qts h20 to refloat mash in MT.
12:25 - Side-burner portion at 176ºF.
12:47 - Infused 5 qts. near-boiling water. Stabilized mash (w/ burner) at 162ºF
1:08 - Added turbid portion (186º) back to MT. Nailed 167ºF. Burner on to maintain 167ºF.
1:28 - Transferred first runnings to BK. 4.25 gallons of 1.049 (12.2 P) wort.
1:30 - Infused remaining h20 into MT. Stabilized at 167º F. Burner on.
1:45 - Transferred batc sparge to BK. Preboil: 9 gallons @ 1.032 (8ºP)
2:15 - Boil. Added 3 oz. aged Willamette hops.
3:01 - down to 8.05 gallons. 1.034 (8.8º P)
4:00 - 7 gallons, 1.043 (10.8º P)
4:40 - 6.5 gallons 1.048 (12º P)
5:00 - 1.054. Insert chiller.
5:14 - Flameout.
Collected 4.5 gallons of 1.053 wort. Will top up with 3/4 gallon of boiled water for 5.25 gallons of 1.045 wort.
EDIT 1/10/2015: Thanks for the comments! Here's the Beersmith2 profile I created for this. (Let me know if it doesn't work for some reason and I'll host it somewhere else...) Note that the volumes in the profile ARE NOT ACCURATE! Instead use the instructions in the "Notes" section of Beersmith, reposted here:
Total mash water: 5 gallons. Total sparge water: ~6.4 gallons (to ~9 gallons).
***Keep HLT at ~185º until mashout.***
See mash for h2o infusion temps...but here are the steps:
0. Fill deadspace of MT w/ 4 qts. h20.
1. Add 1 qt. 136ºF to grain to rest at 113º F for 20 mins.
2. Add grain to MT w/ 4 qts. to rest at 136º F for 5 mins.
3. Remove 1 qt. mash liquid to pot. Heat to 176º (stop enzymatic processes).
4. Add 6 qts. to rest at 149º F for 30 mins.
5. Remove 4 qts. mash liquid to pot. Heat to 176º.
6. Add 5 qts. to rest at 162º F for 20 mins.
7. Add turbid portion back into mash, rest at 167º F.
8. Vorlauf and run off.
9 Fly sparge with 6.4 gallons of 185º F water, until 9 gallons in BK.
Would it be possible to provide the Beersmith mash profile you used for this turbid mash?
ReplyDeleteJohn -
DeleteI added a link to the BeerSmith file. Note that the volumes in the BeerSmith profile are incorrect (and will vary system-to-system), but I posted corrected volumes in the "Notes" section, and the body of the blog post above.
Enjoy!
Thanks, this will help a lot doing my first turbid mash
DeleteFed By Fermentation: Turbid Mash Lambic 2014 >>>>> Download Now
Delete>>>>> Download Full
Fed By Fermentation: Turbid Mash Lambic 2014 >>>>> Download LINK
>>>>> Download Now
Fed By Fermentation: Turbid Mash Lambic 2014 >>>>> Download Full
>>>>> Download LINK pb
I would love to get a Beersmith mash profile for turbid mashing as well.
ReplyDeleteKenny - I posted a link to the BXML file at the end of the blog post. Let me know if you have any questions.
DeleteCheers --
Hi Aaron is this blog still active. I just discovered it?
ReplyDeleteI just want to say this is extremely useful, thanks for taking the time to write this. BeerSmith 3.0.8 Crack
ReplyDeleteI like your all post. You have done really good work. Thank you for the information you provide, it helped me a lot. wahabtech.net I hope to have many more entries or so from you.
ReplyDeleteVery interesting blog.
Syncios Crack
I think the admin of this web site is actually working hard for his website, as here every stuff is quality based
ReplyDeletematerial.
Windows 11 Activator Crack
Autodesk Fusion Crack
FinePrint Crack
BitTorrent Pro Crack
Aurora HDR Crack
IObit Uninstaller Pro Crack
Enigma Recovery Professional Crack
This comment has been removed by the author.
ReplyDeleteFed By Fermentation: Turbid Mash Lambic 2014 >>>>> Download Now
ReplyDelete>>>>> Download Full
Fed By Fermentation: Turbid Mash Lambic 2014 >>>>> Download LINK
>>>>> Download Now
Fed By Fermentation: Turbid Mash Lambic 2014 >>>>> Download Full
>>>>> Download LINK aH
I read this article. I think You put a lot of effort to create this article. I appreciate your work. Super Bowl Eminem Hoodie
ReplyDeleteoliviarodrigomerchshop.comI'm really impressed with your writing skills, as smart as the structure of your weblog.
ReplyDeleteshop hereI'm really impressed with your writing skills, as smart as the structure of your weblog.
ReplyDeleteI guess I am the only one who came here to share my very own experience. Guess what!? I am using my laptop for almost the past 2 years, but I had no idea of solving some basic issues. I do not know how to Crack Softwares Free Download But thankfully, I recently visited a website named xxlcrack.net/
ReplyDeleteANSYS Motor-CAD Crack
Geometric Glovius Pro Crack
very informative artical thanks for sharing it.
ReplyDeleteGameMaker Studio
very useful information thanks for sharing
ReplyDeleteReWASD Crack
very useful information thanks for sharing
ReplyDeleteGoodSync Enterprise
Thanks for the step by step installation guide. But you need to update this because there is a new version of this software availablehttps://activationcrack.org/wp-admin/
ReplyDeleteON1 Photo RAW
Macrorit Partition Expert
VideoProc Crack
Cyber Privacy Suite
Ashampoo PDF Pro
SpeedCommander Pro
Virtual DJ Pro
Adobe Fresco
DisplayFusion
GiliSoft Audio Toolbox Suite
Very good article! We will be linking to this particularly great post on our website. Keep up the good writing.
ReplyDeleteDriverMax Pro Crack
Apowesoft Screen Recorder Pro Crack
BitDefender Antivirus Free Crack
EmEditor Professional Crack
Avira Internet Security Pro Crack
Virtual DJ Crack
WinCatalog Crack
Advanced System Repair Pro Crack
Adobe Media Encoder Crack
Movavi Photo Editor Crack
wao amazing article
ReplyDeleteVellum Crack
excellent website
ReplyDeletedownload cracked free pc software's
DVDFab 12.1.0.1 Crack + Keygen Free Download 2023
DVDFab 12.1.0.1 Crack + Keygen
thanks for sharing better knowledge you may also read apc ups calibration course
ReplyDelete
ReplyDeleteThanks for the always useful information. This is great information to help garage type SEO people like me.
softwarezguru.com
Lansweeper Crack